Whenever you want to add a recipe manually or edit an existing recipe, you will be taken to the Recipe Form. So here is a detailed explanation of all its elements.
The Basics
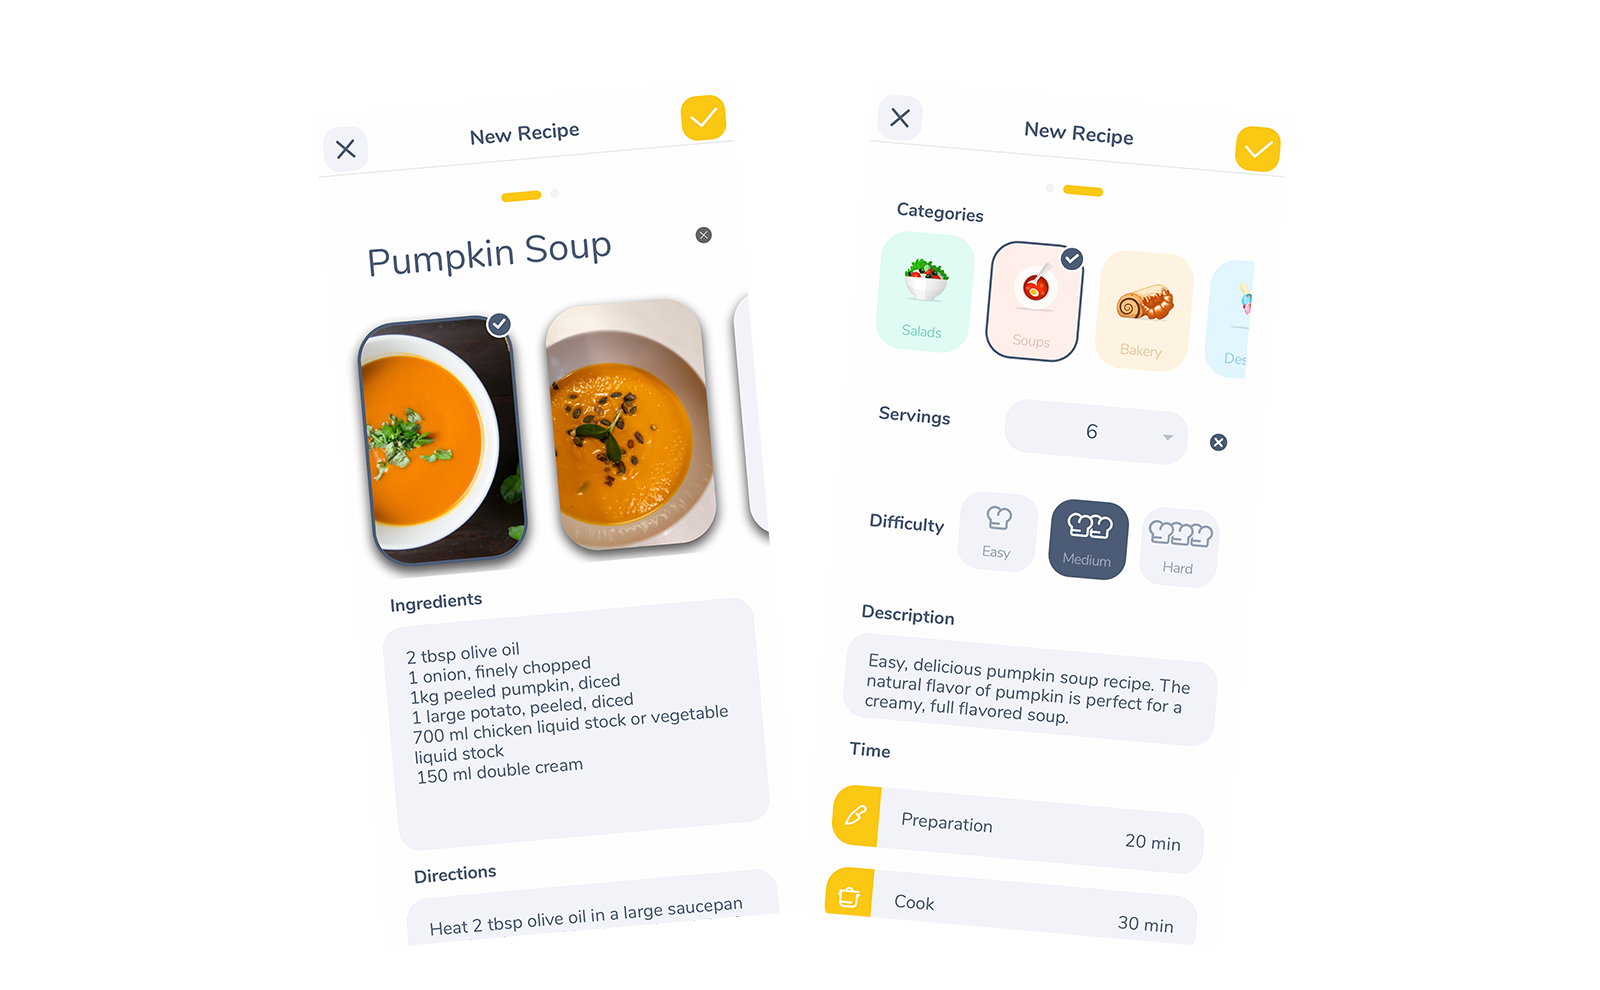
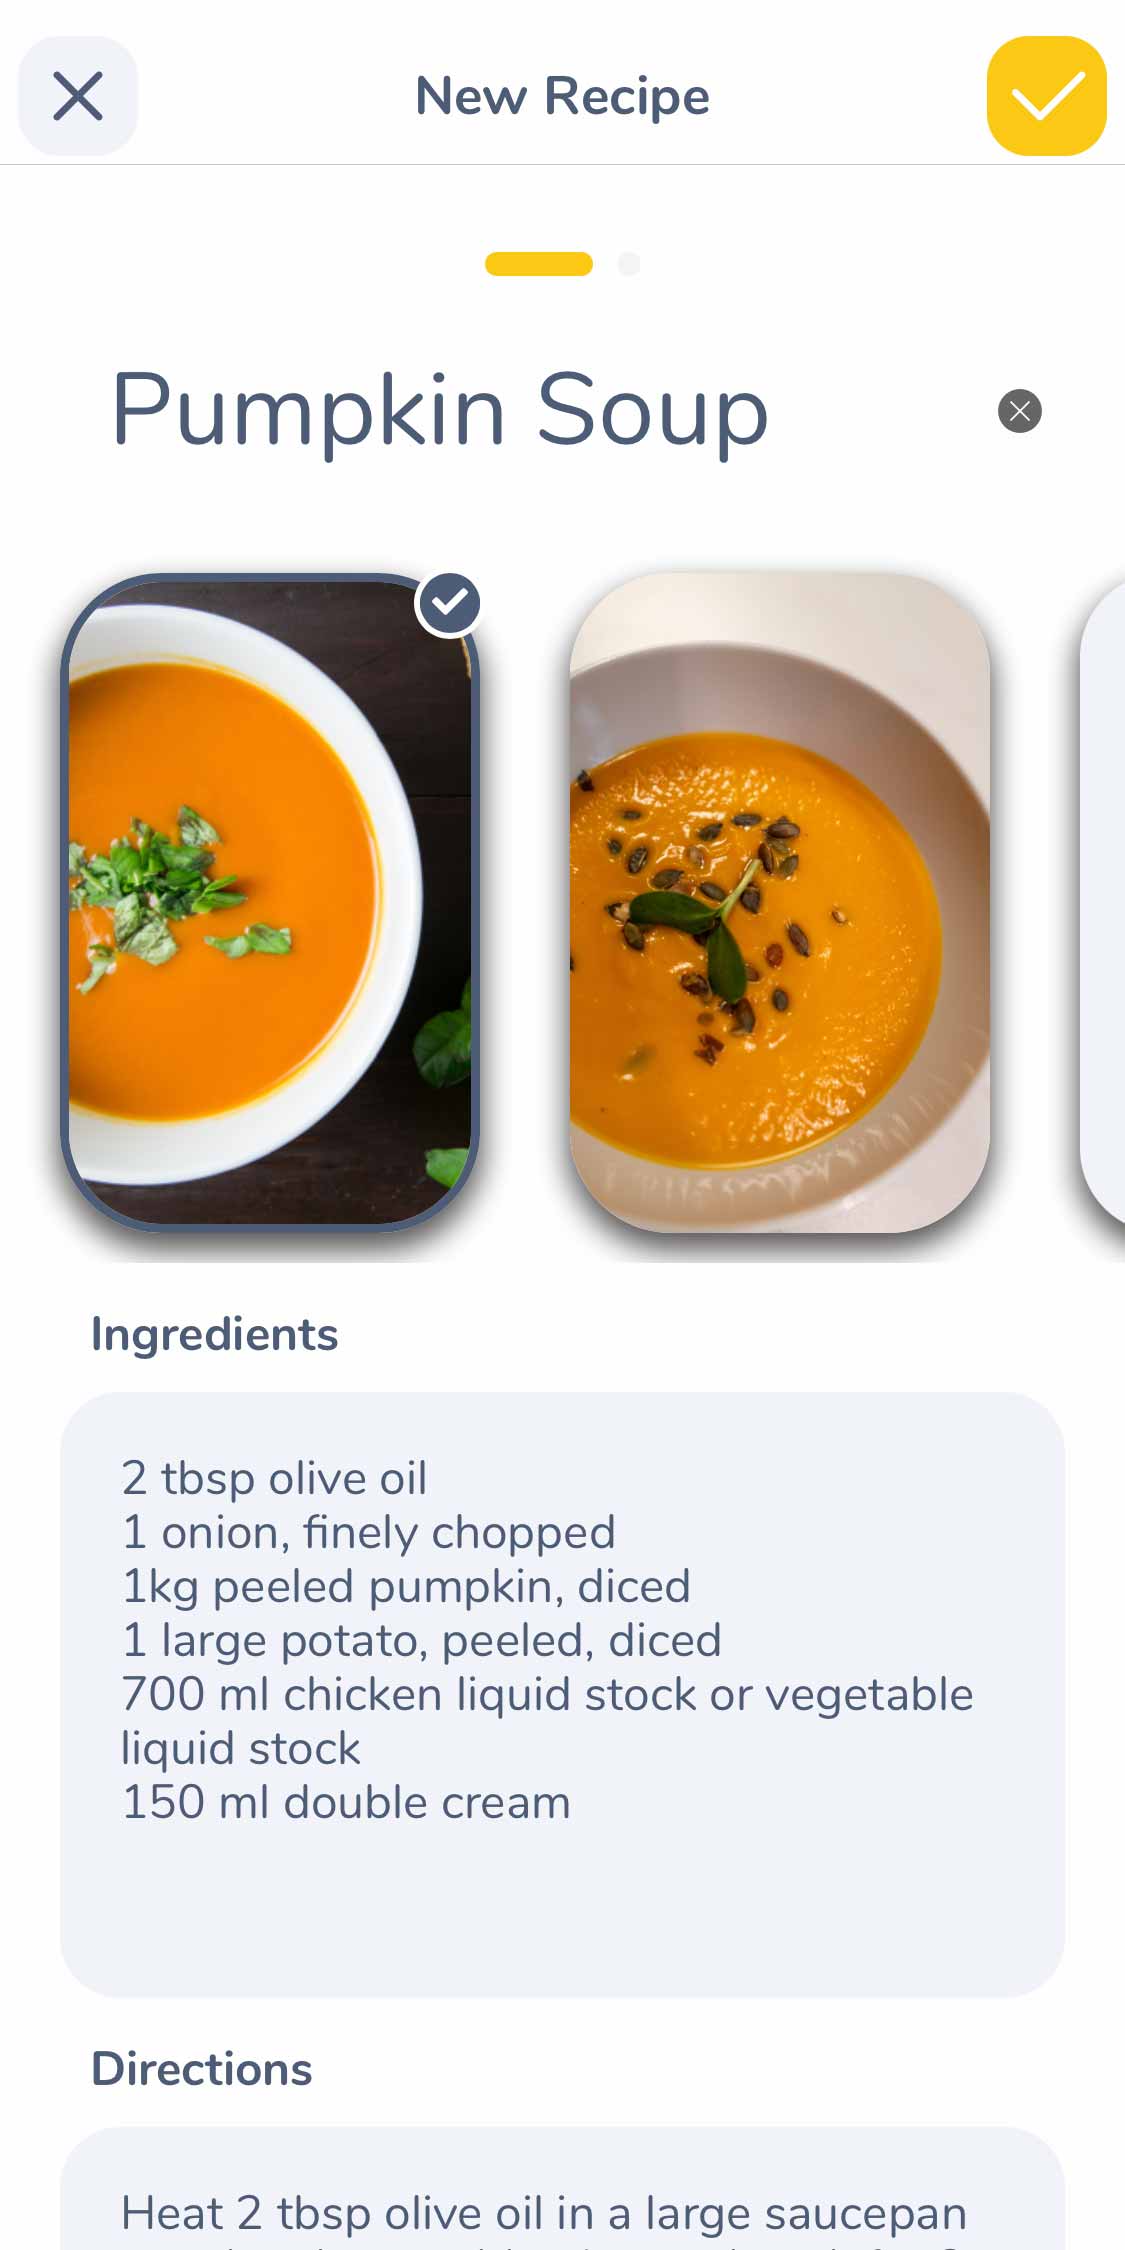
The form has two slides. The first slide contains the basic parts of the recipe like the title, a photo (which is not mandatory but will contribute a lot to the fancy modern look of your recipe collection) ingredients and directions.
Ingredients and Directions
To fill the ingredients and direction just type or paste each in a new line and the app will automatically separate them by end-of-line character. The ingredients will be saved as a checkbox list and the directions as numbered steps automatically so no need to type numbers in front of them.
Photos
To add a photo to the recipe you are creating press the photo placeholder below the Title field. The native menu will open with the options to choose a photo from your photo library or open the camera to take a picture. If you select a photo from your photo library or take a photo with the camera and choose Use Photo at the bottom right corner, the photo will be added to the recipe. To add another photo press the placeholder next to the added photo.
Note: In the Free Version of Spiciko you can save 3 photos per recipe. In the Premium Version you can save up to 8 photos per recipe.
The Details
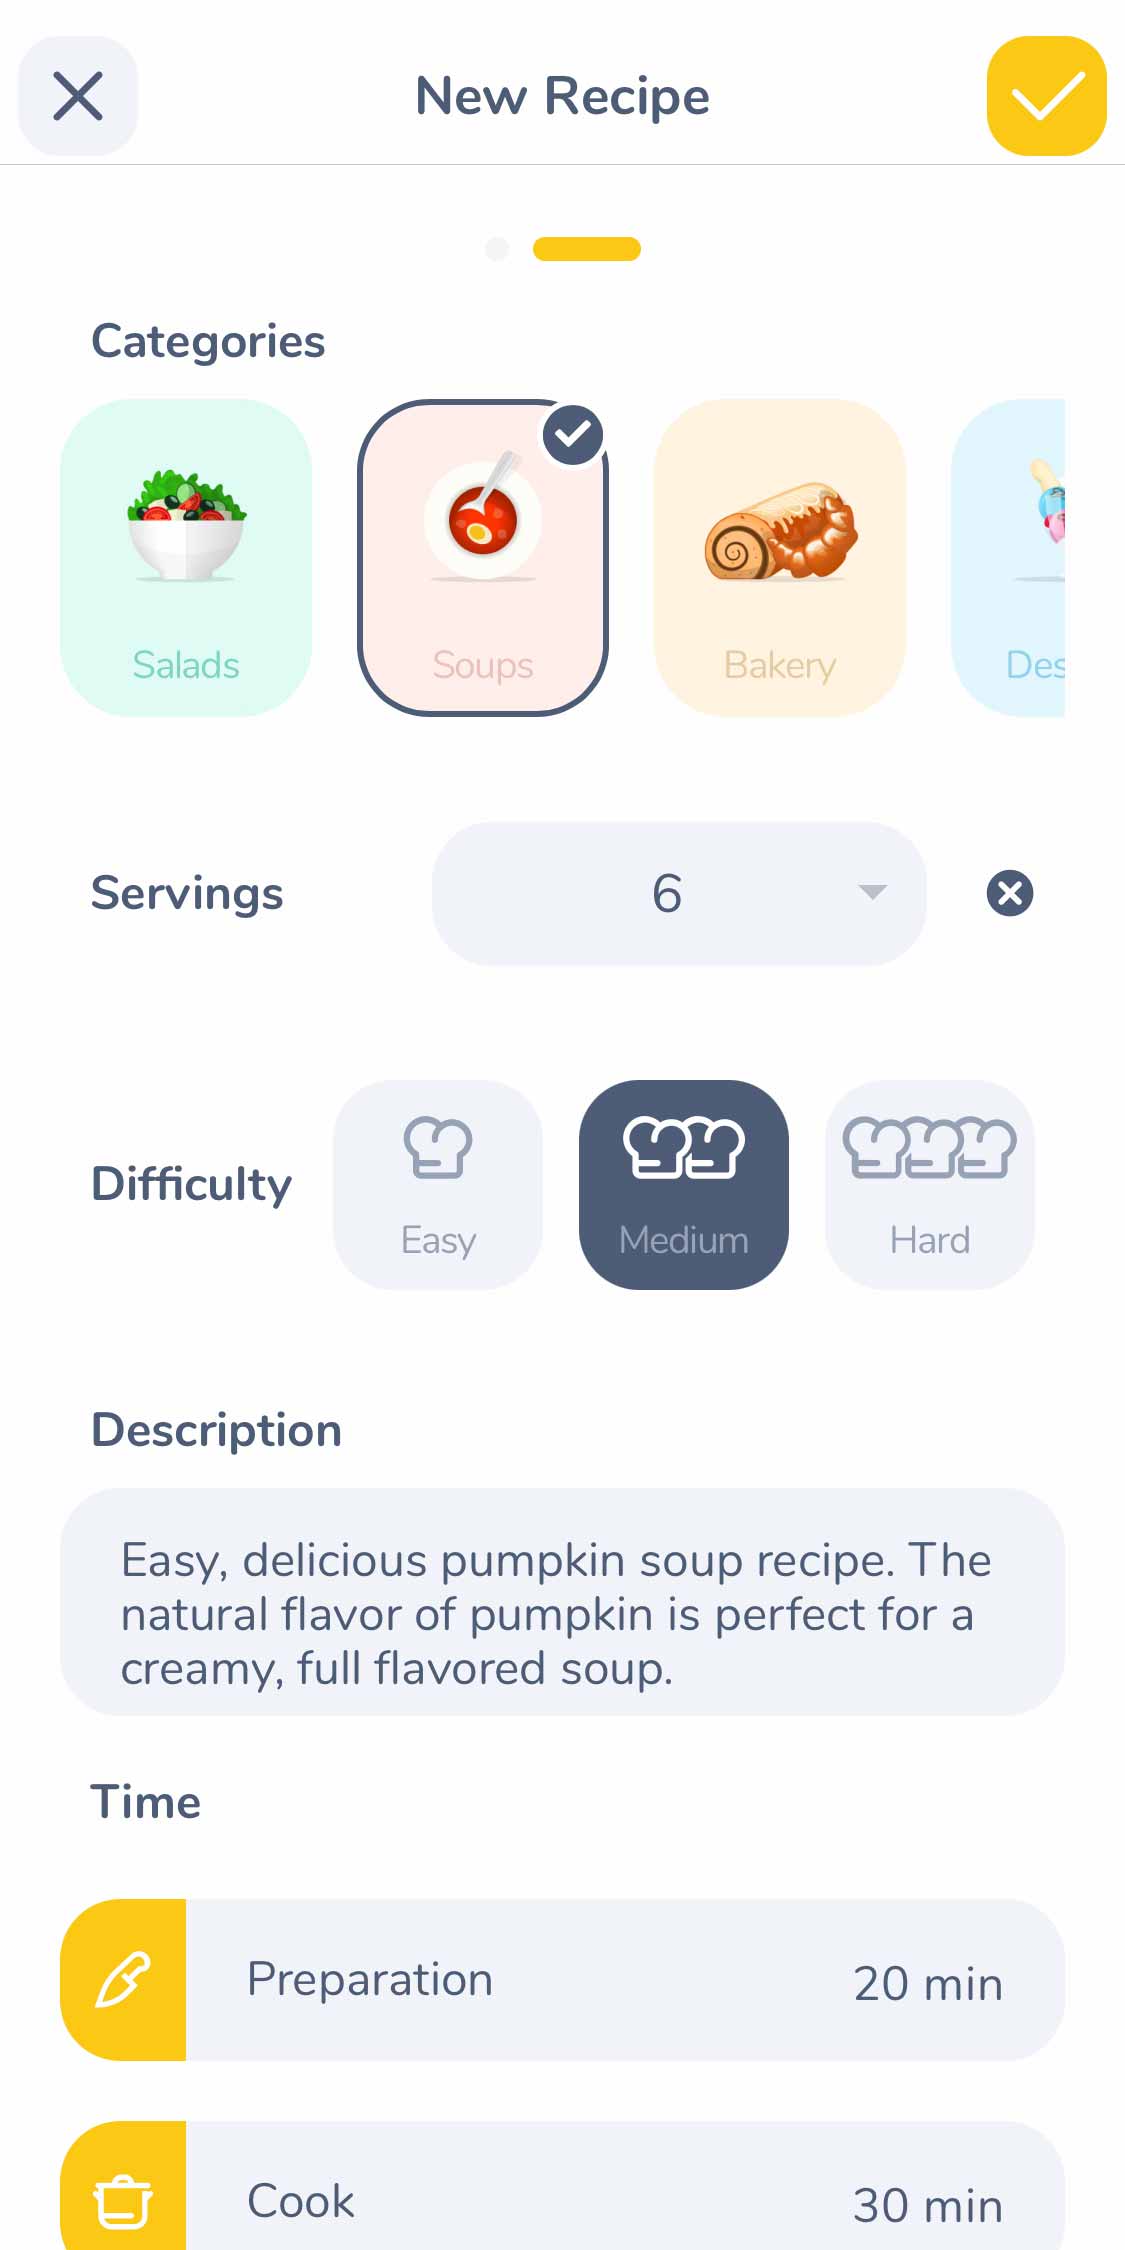
After you are done with the recipe basics you can swipe to the left to go to the second slide of the form and fill in more details like categories, number of servings, difficulty to make, description, prep time, cook time, total time and your personal notes.
Categories
The categories control is a slider that shows all your categories in the order you see them in your Categories screen which is the order in which you save them on the organize categories page. To see all your available categories for the recipe just slide the categories control.
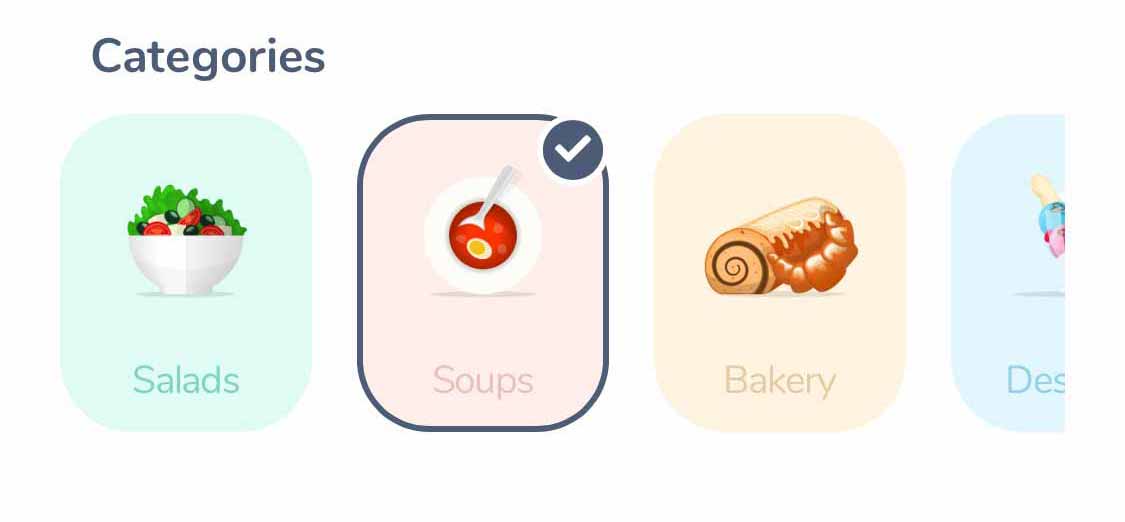
To choose all the categories to which you want to add the recipe simply tap the category icon and the category will be selected. You can select multiple categories for a recipe. To unselect a selected category simply tap the selected category again and it will be unselected.
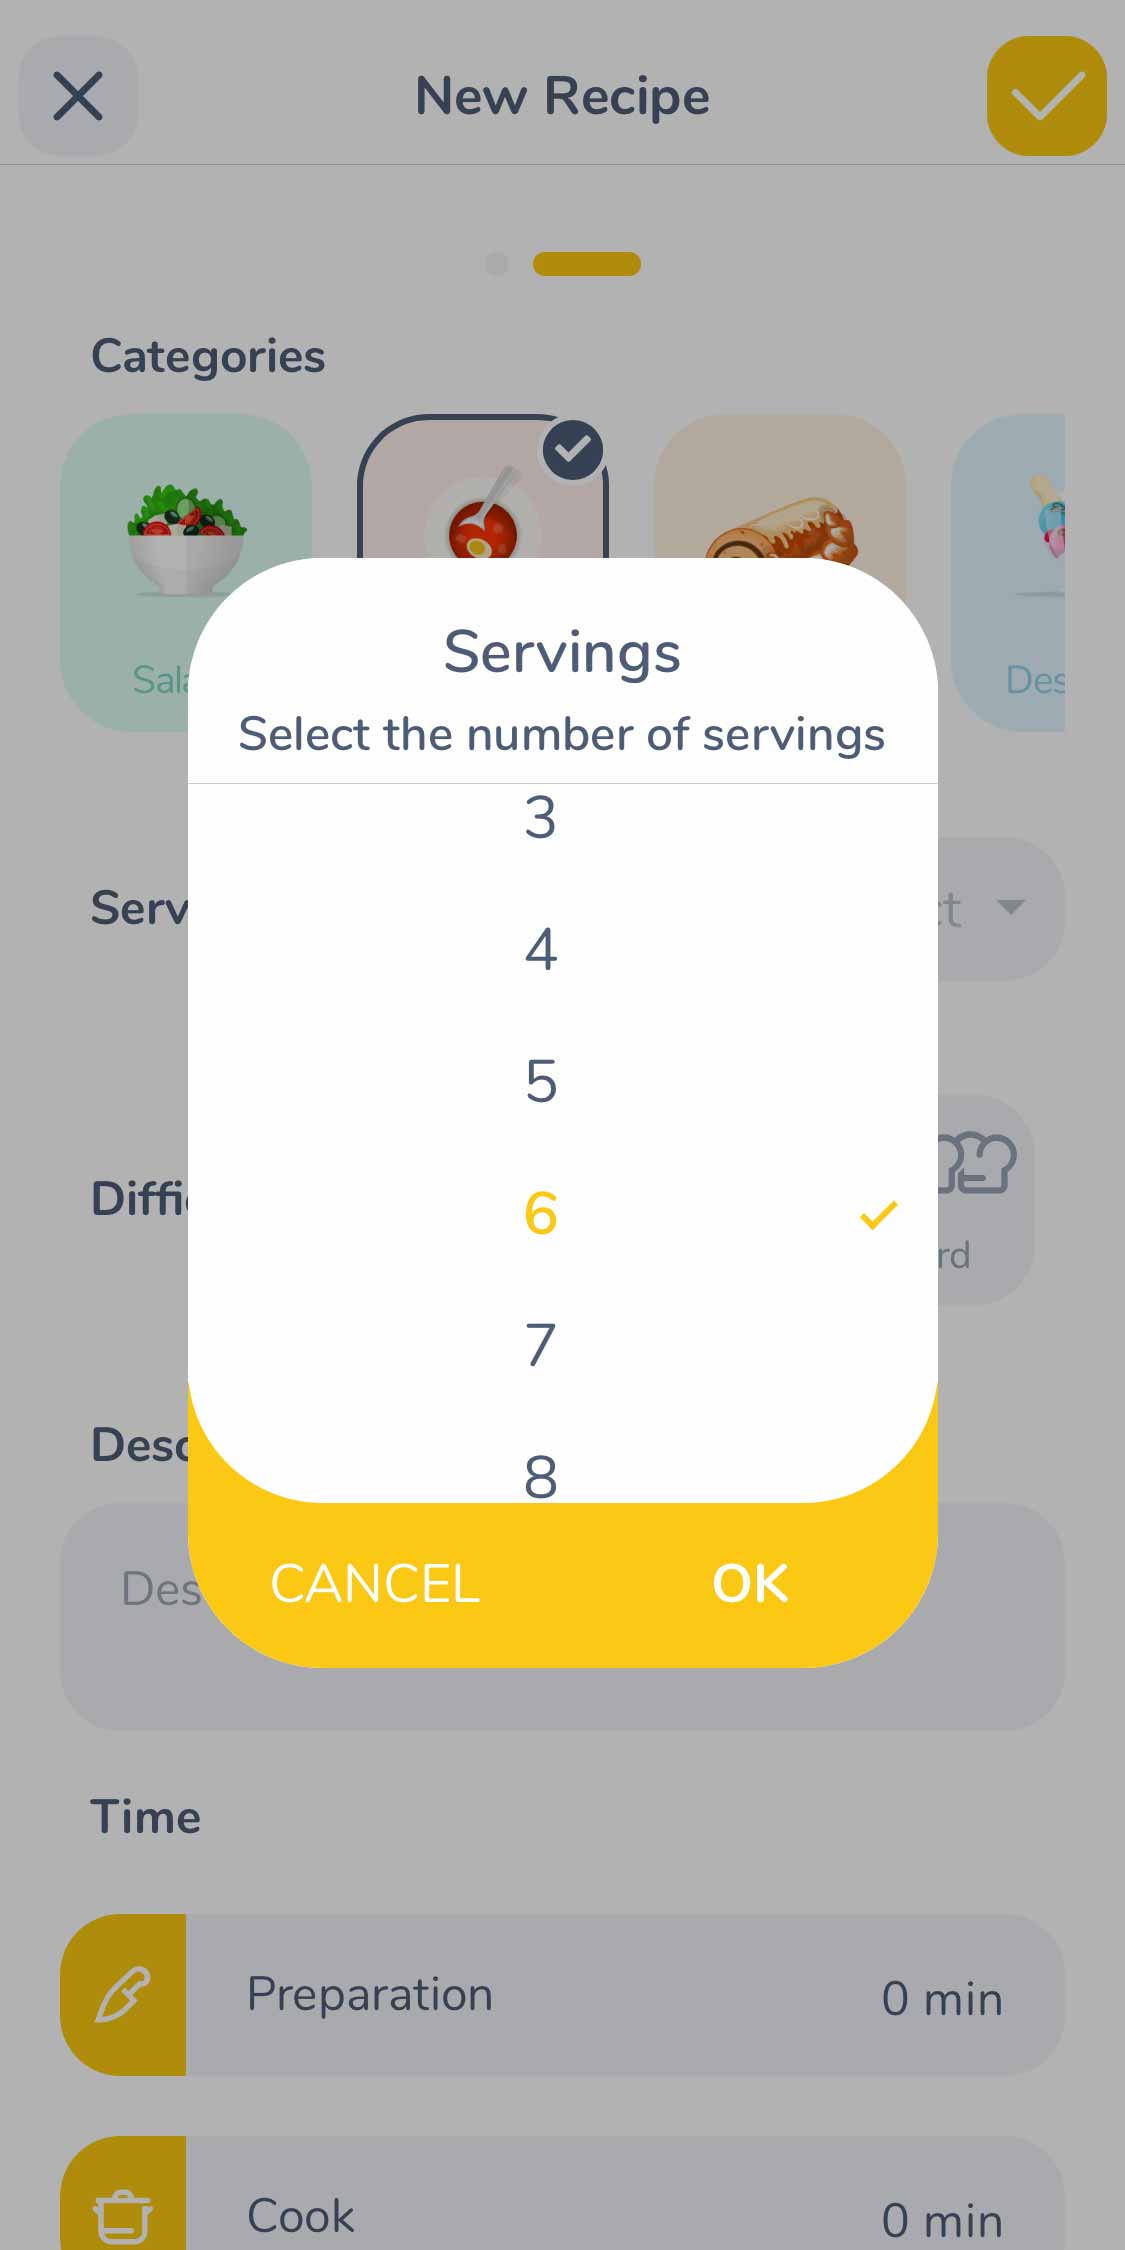
Servings
To add the number of servings for the recipe press the input field next to the Servings label. A dialog will open where you can select the number of servings from 1-20 and press the OK button. To change the number of servings press the same input again and the dialog will show with the chosen option. Just tap another option and press the OK button. To completely remove the servings press the x icon on the right side of the input field.
Difficulty
To choose a difficulty level press on one of the buttons Easy, Medium or Hard. These are mutually exclusive and you can choose only one. To choose another one just tap that one and the previously selected will be unselected. To remove your selection completely, press again the selected one.

Time
If you enter prep time and cook time, total time will be automatically calculated and if the recipe doesn’t require any additional time, like cooling time for example, that you would like to add, you can just leave it as is. If there is another time that is not included in prep time and cook time you can manually change the total time to include that time too.
Description and Notes
The Description field is a text field where you can add a description for the recipe you are creating. In a saved recipe it will appear at the top of the recipe.
The Notes field is for your personal notes for the recipe. In a saved recipe it will appear at the bottom of the recipe and it won’t be shared when you send the recipe to someone through the Share Recipe option.
After filling in all the information, save the recipe by tapping the Save button (image) on the top right corner. After you save the recipe the recipe details page will open which will show it nicely formatted and ready to be prepared in an interactive form.
The Design
The New Recipe form is designed in a way that offers you the ability to quickly type out and save a recipe with the most important parts only when you are in a hurry. This can be accomplished by typing or pasting all the basic info and saving the recipe quickly without being bothered with all the details. However, if you have time and want to fill in all the possible elements of a recipe, they are always reachable with just one slide to the left for the second part of the form.